On 23 September we recorded a fresh signup to Delegus in production, from the homepage to the first signed receipt. The homepage came up at 10:08:07. The first signed receipt was stamped 10:09:00.
Here is every step in between.
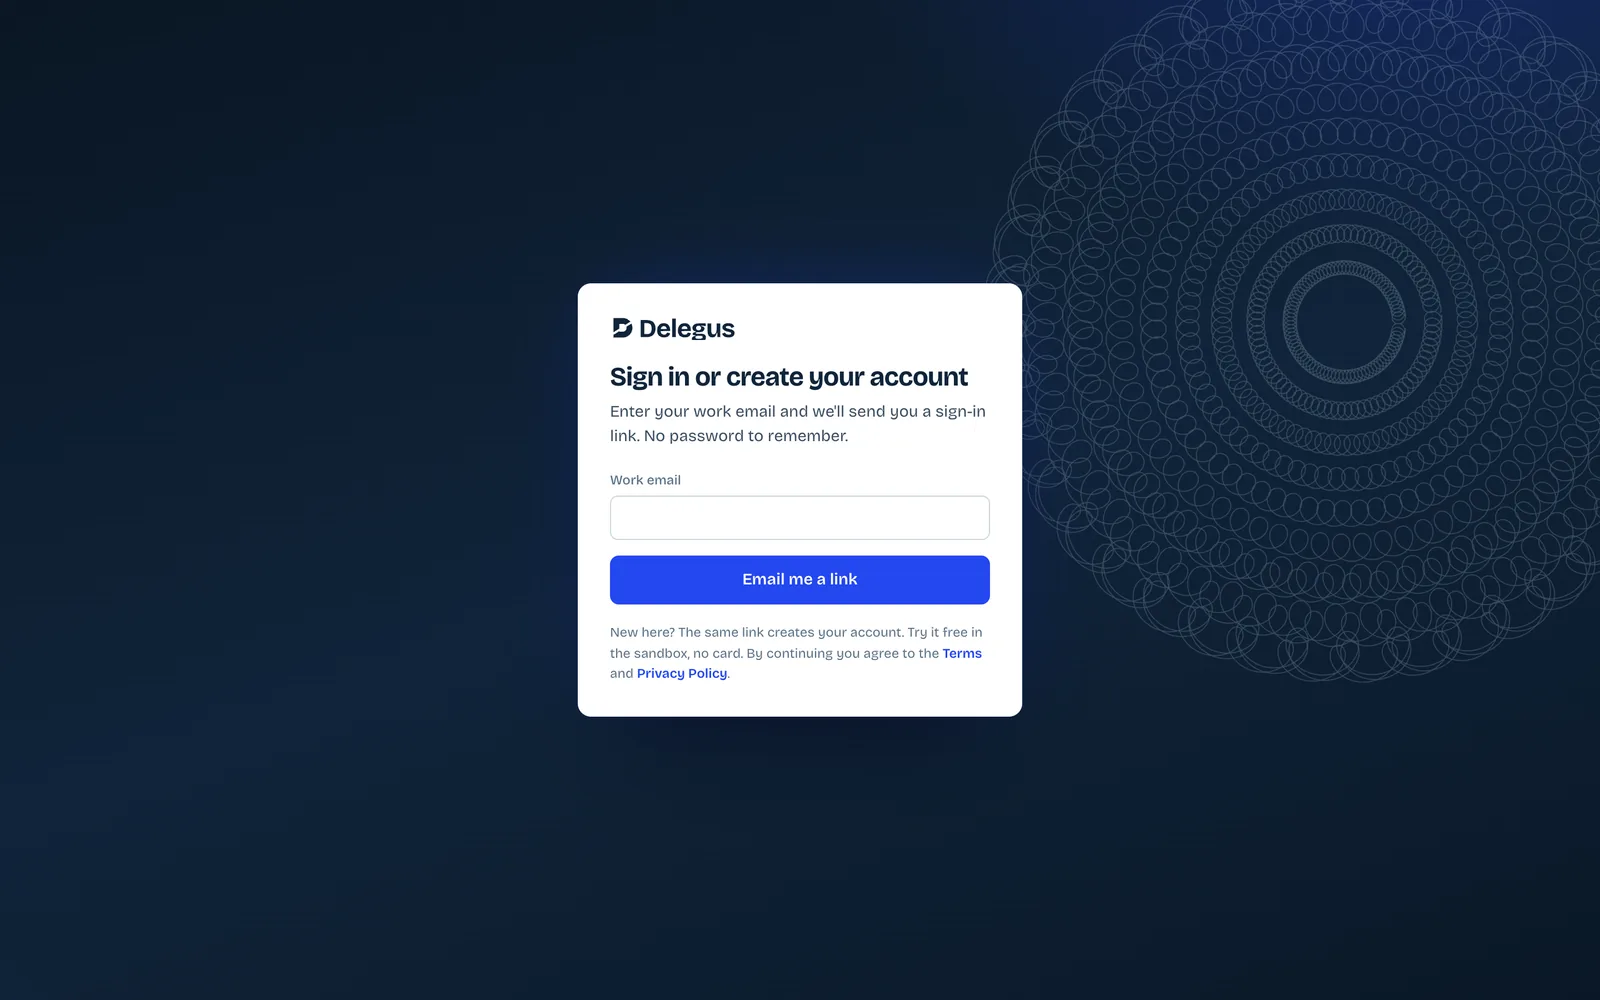
Sign in, or create an account#
"Sign in or create your account." A work email and one button, "Email me a link." No password. If you're new, the same link creates your account.
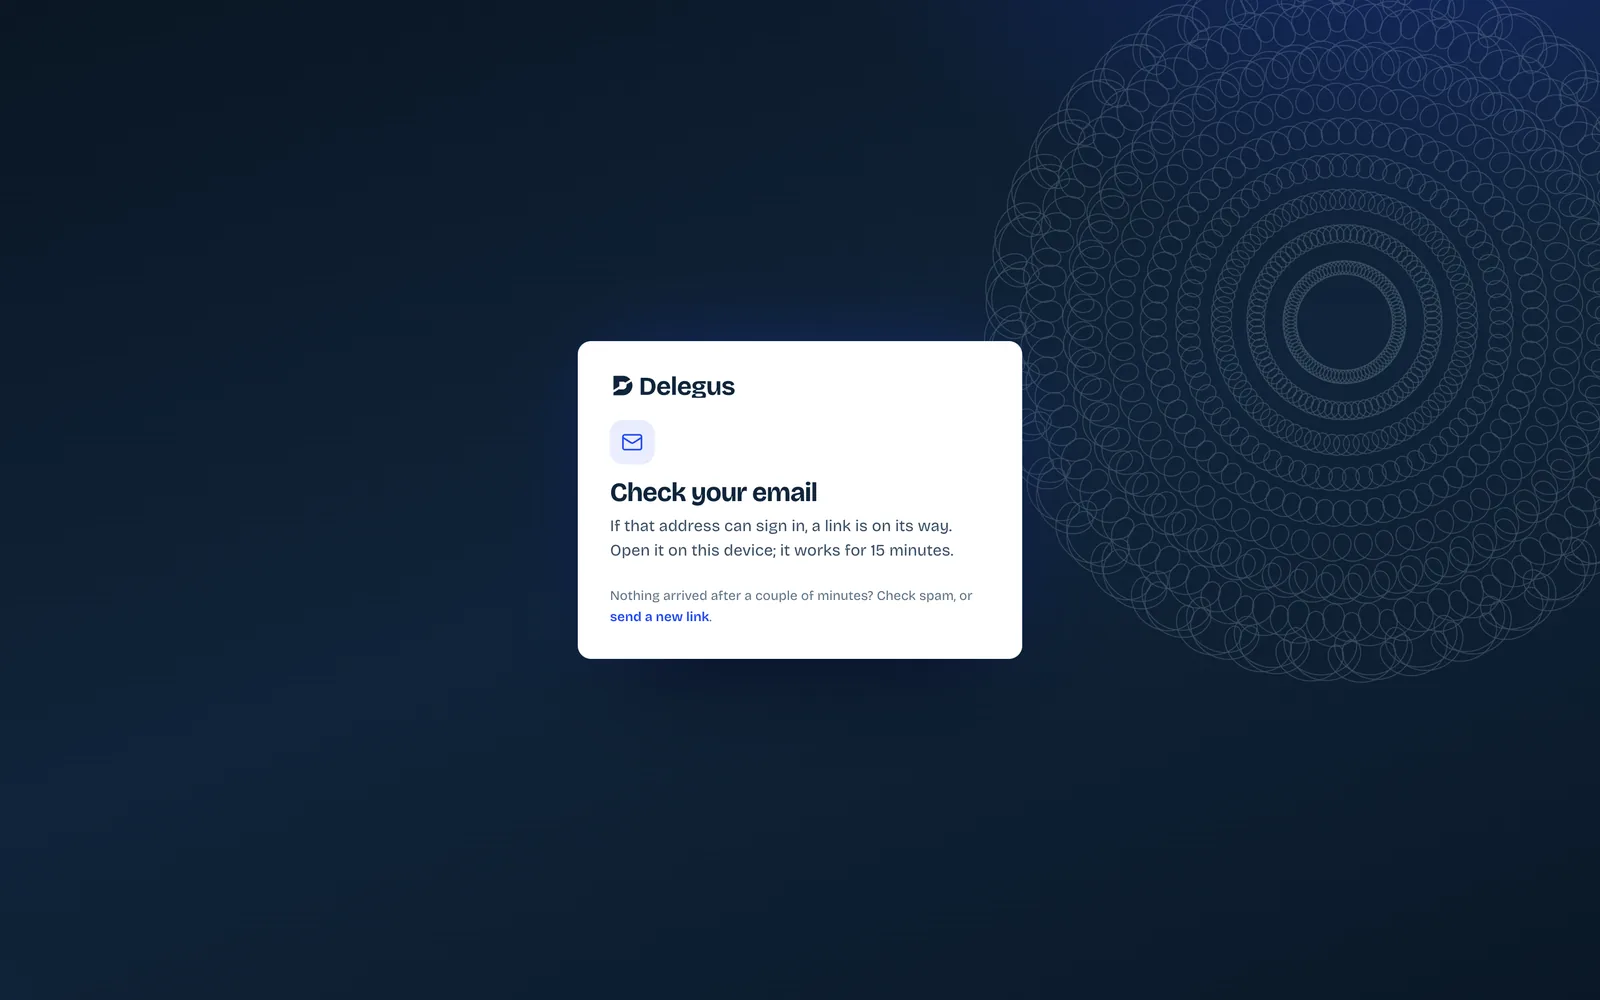
The link#
"Check your email." The link works once, for 15 minutes. It opens a page that does nothing until you press "Sign me in", so a mail scanner that opens links can't sign you in by accident.
Name your organization#
"Create your organization." One field. We typed ABC Corp.
The key, once#
"ABC Corp is ready." The API key your server will use is shown once. Copy it, and keep it on your server.
The first check#
"Get your first signed receipt." A practice permission is already set up, so nothing real happens. You can run the sample check from your own machine with curl or the Node SDK, or press "See my first receipt" and let the console run it. We pressed the button.
The receipt#
"That's your first signed receipt." Delegus checked the sample request and allowed it.
The receipt page shows every check and whether it passed, and it's marked "Signed by Delegus". It lists the receipt id, the company the agent acted for, the agent, the permission, and what it was allowed to do. Below that are the documents the decision relied on, each addressed by its hash, and the raw signed JSON. "Check it yourself" shows how to re-verify it on your own machine.
Homepage to signed receipt: 10:08:07 to 10:09:00.